Introduction
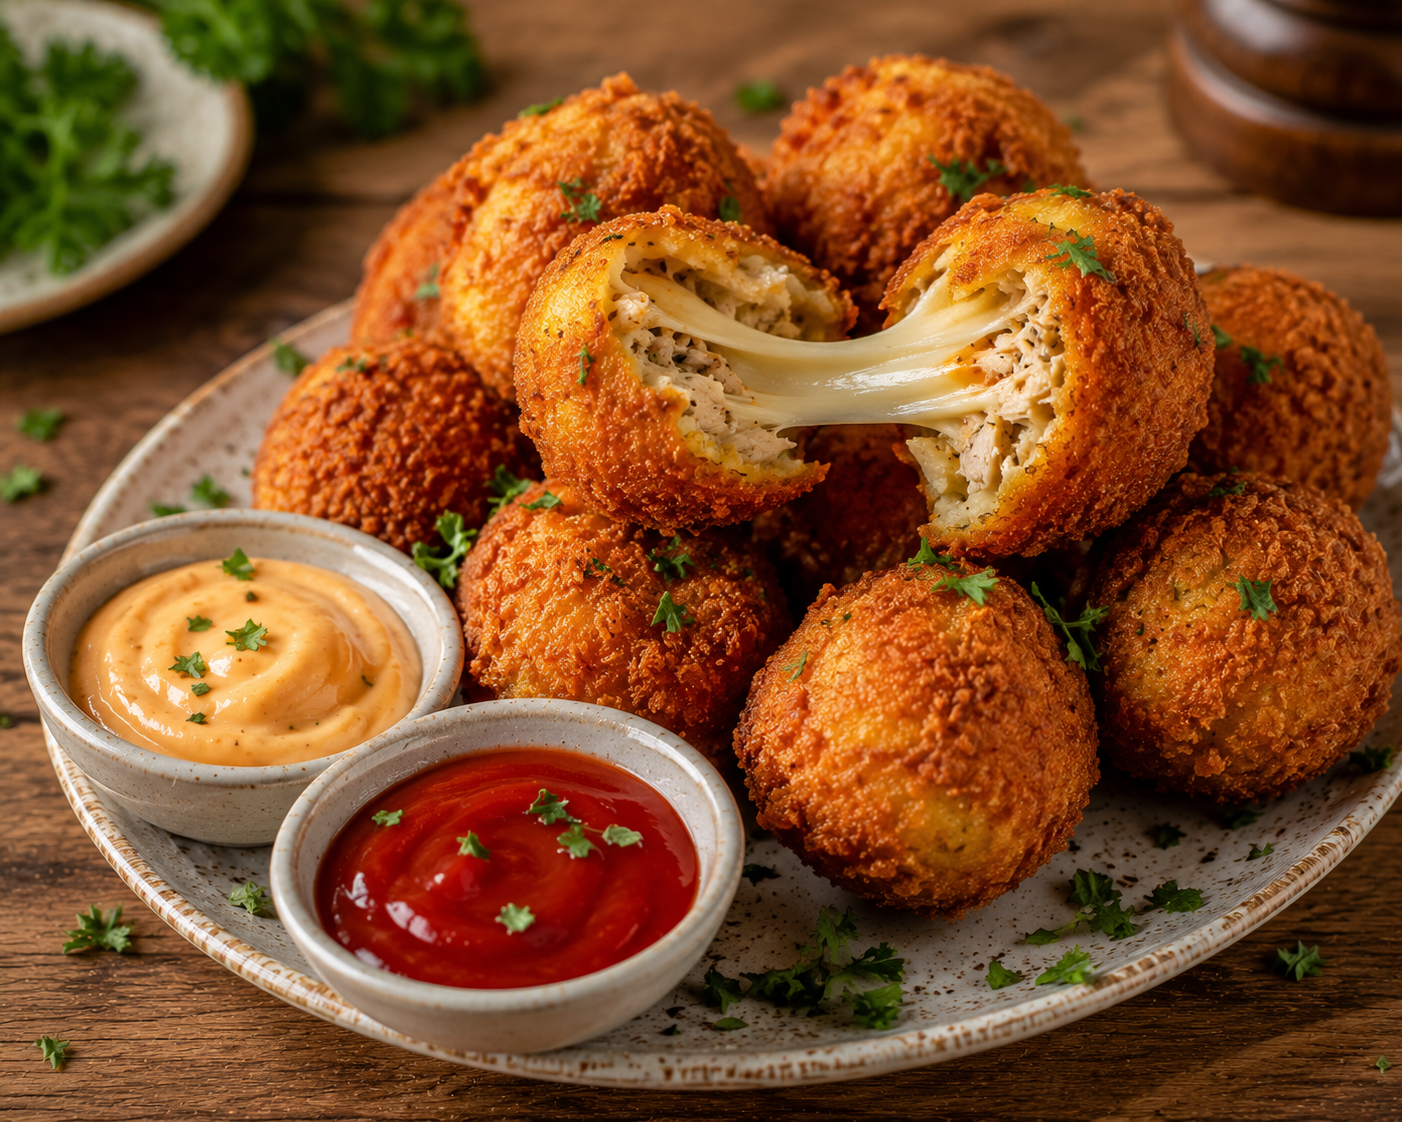
If you’re searching for the ultimate party snack, these Crispy Chicken Cheese Balls are guaranteed to steal the spotlight. Each bite is packed with juicy seasoned chicken, creamy melted mozzarella, and a perfectly golden, crunchy coating that delivers an irresistible combination of textures and flavors.
Whether you’re hosting a game night, preparing appetizers for guests, or simply craving a cheesy comfort snack, this recipe is quick, easy, and made with everyday ingredients. The crispy breadcrumb coating locks in the juicy filling while creating a satisfying crunch, making every bite taste like it came straight from your favorite restaurant.
Even better, these chicken cheese balls can be fried, air-fried, or baked, making them a versatile recipe for every kitchen. Pair them with your favorite dipping sauces, fries, or a fresh salad for a snack everyone will ask you to make again.
Why This Recipe Works
The secret to perfect Crispy Chicken Cheese Balls is balancing moisture and texture. Finely shredded cooked chicken combines beautifully with mozzarella cheese, herbs, and seasonings to create a flavorful filling that stays juicy without becoming too wet.
A three-step breading process—flour, egg, and seasoned breadcrumbs—creates an extra-crispy shell that seals the cheese inside. As the cheese melts during cooking, it forms a deliciously creamy center while the exterior turns beautifully golden and crunchy.
Because the recipe uses simple ingredients and flexible cooking methods, it’s ideal for beginners and experienced home cooks alike.
Why You’ll Love This Recipe
- Crispy outside with a gooey cheese center.
- Perfect for parties, tea time, or family gatherings.
- Easy to prepare using everyday ingredients.
- Air fryer, oven, and deep-frying options.
- Kid-friendly and freezer-friendly.
- Great for meal prep and make-ahead snacks.
- Ready in just 40 minutes.
- Restaurant-style results at home.
- Easy to customize with your favorite cheeses and seasonings.
- Delicious with a variety of dipping sauces.
Ingredients
For the Filling
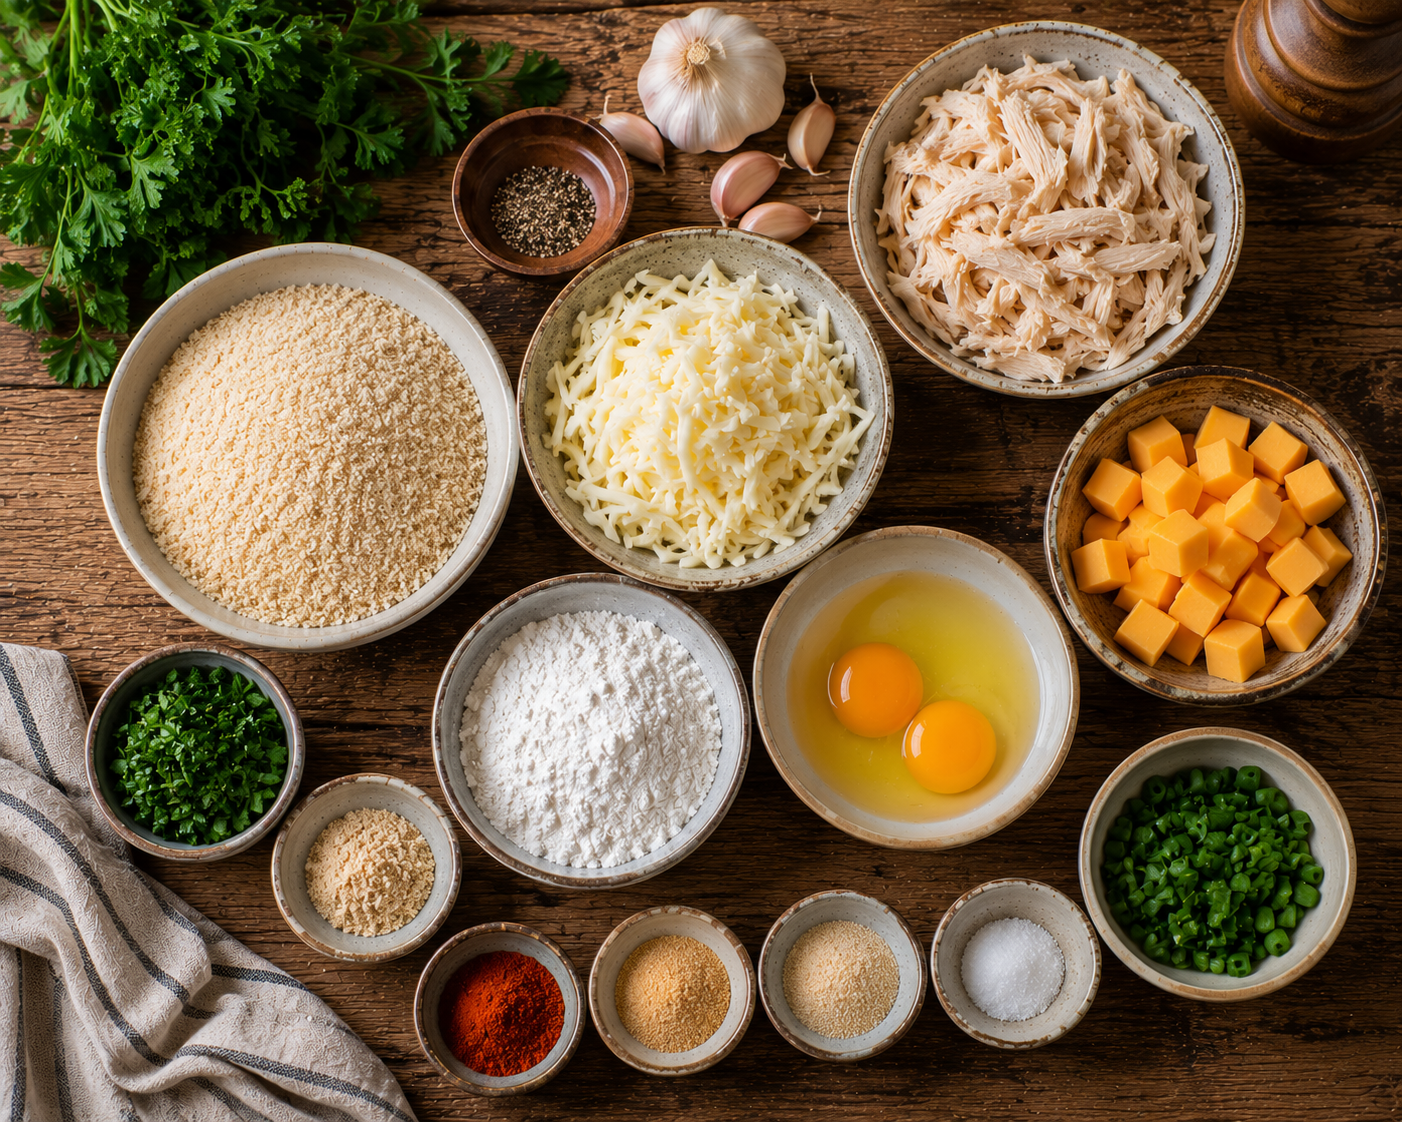
- 2 cups cooked shredded chicken
- 1½ cups shredded mozzarella cheese
- ½ cup shredded cheddar cheese
- 2 tablespoons cream cheese
- 2 tablespoons chopped parsley
- 2 cloves garlic, minced
- 1 teaspoon onion powder
- 1 teaspoon garlic powder
- 1 teaspoon smoked paprika
- ½ teaspoon black pepper
- ½ teaspoon salt
For Coating
- 1 cup all-purpose flour
- 2 large eggs, beaten
- 2 cups seasoned breadcrumbs (or panko)
- Vegetable oil for frying
Ingredient Notes
Chicken
Use cooked, finely shredded chicken breast or thighs. Rotisserie chicken is a great time-saving option.
Mozzarella Cheese
Mozzarella provides the signature stretchy cheese pull. Low-moisture mozzarella works best because it melts evenly without making the filling watery.
Cheddar Cheese
Cheddar adds a richer, sharper flavor that complements the mozzarella.
Cream Cheese
A small amount of cream cheese keeps the filling creamy and helps bind the ingredients together.
Breadcrumbs
Panko breadcrumbs create an extra-light, crunchy coating, while regular seasoned breadcrumbs provide a more traditional texture.
Kitchen Equipment
Required
- Large mixing bowl
- Measuring cups and spoons
- Cutting board
- Mixing spoon
- Three shallow bowls for breading
- Frying pan or deep fryer
- Kitchen tongs
- Wire cooling rack
Optional
- Air fryer
- Cookie scoop
- Instant-read thermometer
Preparation Information
| Item | Details |
|---|---|
| Prep Time | 25 Minutes |
| Cook Time | 15 Minutes |
| Total Time | 40 Minutes |
| Yield | 20 Cheese Balls |
| Calories | ~120 kcal each |
Step 1: Prepare the Chicken Filling
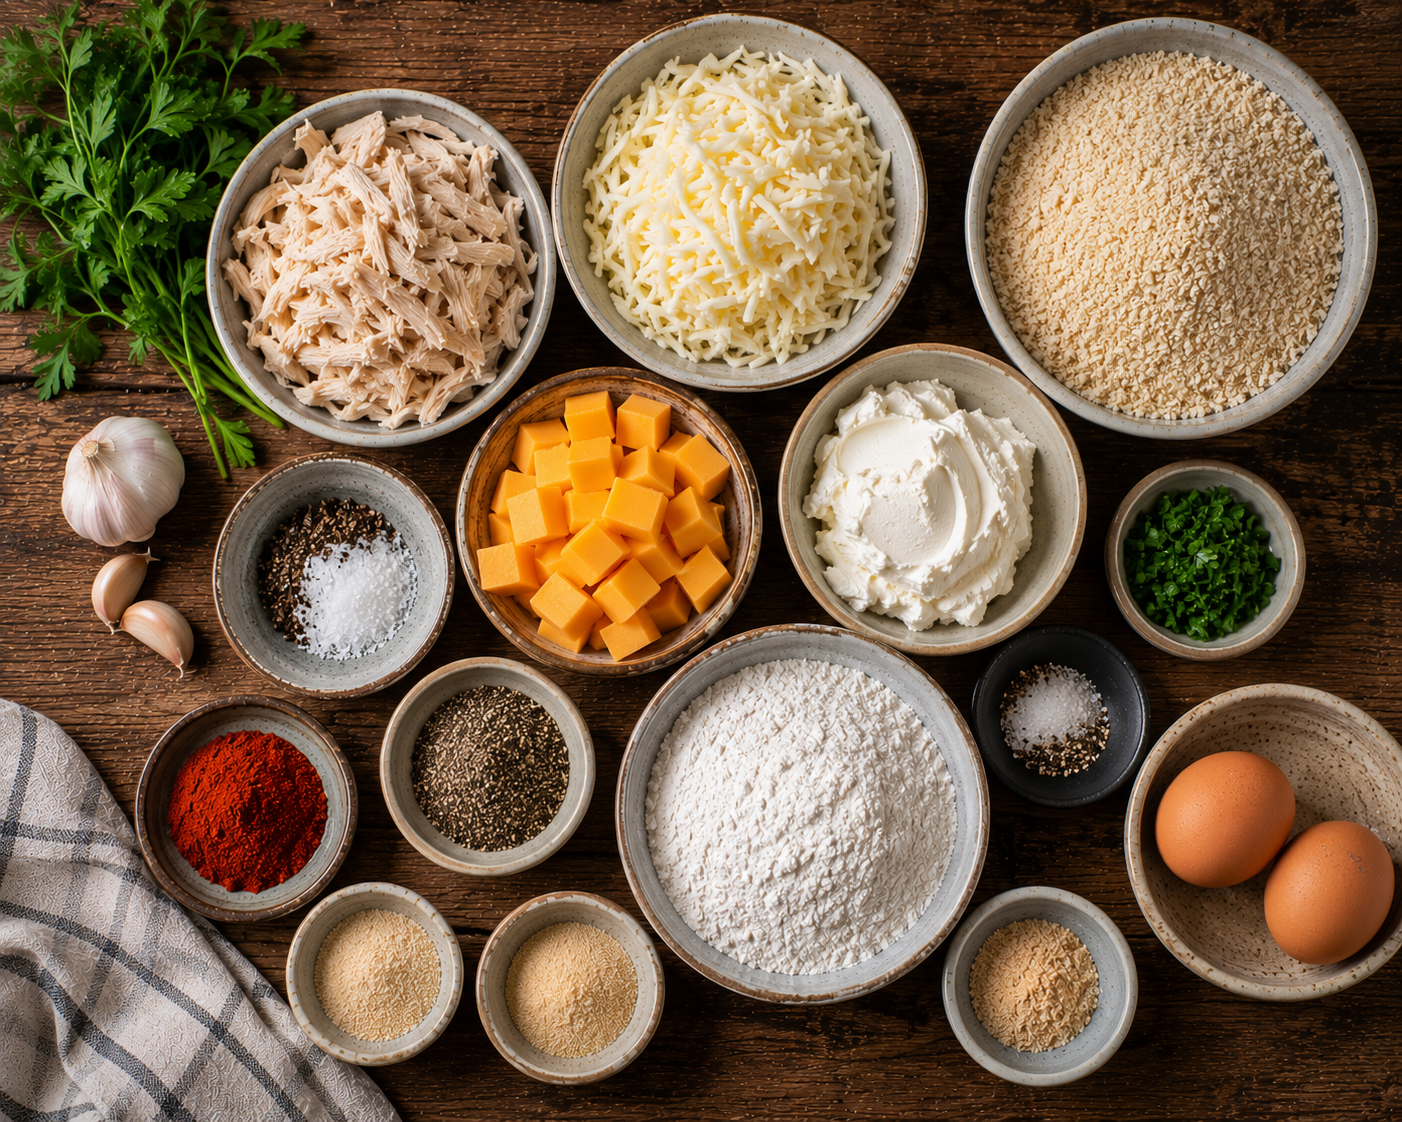
In a large mixing bowl, combine the shredded cooked chicken, mozzarella cheese, cheddar cheese, cream cheese, minced garlic, parsley, onion powder, garlic powder, smoked paprika, black pepper, and salt.
Mix everything thoroughly until the ingredients are evenly distributed and the mixture holds together easily when pressed.
If the mixture feels too soft, add 2–3 tablespoons of breadcrumbs to improve the consistency.
Why This Step Matters
A well-mixed filling ensures every cheese ball has the perfect balance of juicy chicken, creamy cheese, and flavorful seasoning.
Visual Cue: The mixture should be evenly mixed without large cheese clumps.
Texture Cue: Soft enough to shape but firm enough to hold its form.
Common Mistake: Overloading the mixture with cheese can cause it to leak during frying.
Chef’s Tip: Chill the filling in the refrigerator for 15–20 minutes before shaping. Cold filling is much easier to work with.
Step 2: Shape the Cheese Balls
Scoop approximately two tablespoons of the chicken mixture and roll it gently between your hands to form evenly sized balls.
If you want an extra cheesy surprise, place a small cube of mozzarella in the center before sealing the mixture around it.
Arrange the shaped cheese balls on a tray lined with parchment paper.
Why This Step Matters
Uniformly sized cheese balls cook evenly and create a professional-looking presentation.
Visual Cue: Smooth, round balls without visible cracks.
Texture Cue: Firm enough to keep their shape.
Common Mistake: Loose shaping may cause the cheese balls to split while frying.
Chef’s Tip: Lightly oil your hands if the mixture becomes sticky.
Step 3: Coat the Cheese Balls
Prepare three separate bowls:
- Bowl 1: All-purpose flour
- Bowl 2: Beaten eggs
- Bowl 3: Seasoned breadcrumbs or panko
Roll each chicken ball in flour, dip it into the beaten egg, and coat it generously with breadcrumbs.
For an extra crispy crust, repeat the egg and breadcrumb coating one more time.
Place the coated cheese balls on a tray and refrigerate them for 15 minutes before frying.
Why This Step Matters
Double coating creates a thick, crunchy shell that helps keep the melted cheese inside during cooking.
Visual Cue: Evenly coated with no bare spots.
Texture Cue: Dry and textured surface.
Common Mistake: Skipping the chilling step can cause the coating to separate while frying.
Chef’s Tip: Panko breadcrumbs create an even crispier finish than regular breadcrumbs.
Step 4: Fry Until Golden and Crispy
Heat vegetable oil to 350°F (175°C) in a deep frying pan or fryer.
Carefully lower a few cheese balls into the hot oil without overcrowding the pan.
Fry for 3–4 minutes, turning occasionally until they become evenly golden brown and crispy.
Transfer the cooked cheese balls to a wire rack instead of paper towels to maintain maximum crispiness.
Why This Step Matters
Maintaining the correct oil temperature ensures the outside becomes crispy while the cheese inside melts perfectly.
Visual Cue: Deep golden-brown coating.
Texture Cue: Crisp exterior with a soft, cheesy center.
Aroma Cue: A rich aroma of toasted breadcrumbs, garlic, herbs, and melted cheese.
Common Mistake: Oil that’s too hot browns the outside before the cheese melts.
Chef’s Tip: Fry in small batches to keep the oil temperature consistent.
Step 5: Air Fryer Method (Optional)
Preheat the air fryer to 390°F (200°C).
Lightly spray the coated cheese balls with cooking oil.
Arrange them in a single layer, leaving space between each one.
Air fry for 10–12 minutes, shaking the basket halfway through cooking.
Why This Step Matters
Air frying produces a crispy exterior with significantly less oil while keeping the cheese deliciously melted.
Chef’s Tip: Spray a little more oil during the last few minutes for an even crispier finish.
Step 6: Serve Immediately
Serve the crispy chicken cheese balls while they’re still hot and the cheese is perfectly melted.
Pair them with your favorite dipping sauces such as:
- Spicy Mayo
- Garlic Aioli
- Ranch Dressing
- BBQ Sauce
- Honey Mustard
- Sweet Chili Sauce
- Marinara Sauce
Garnish with freshly chopped parsley and a sprinkle of grated Parmesan cheese for an elegant finishing touch.
Why This Step Matters
Freshly cooked cheese balls offer the perfect combination of a crunchy coating and a gooey cheese center.
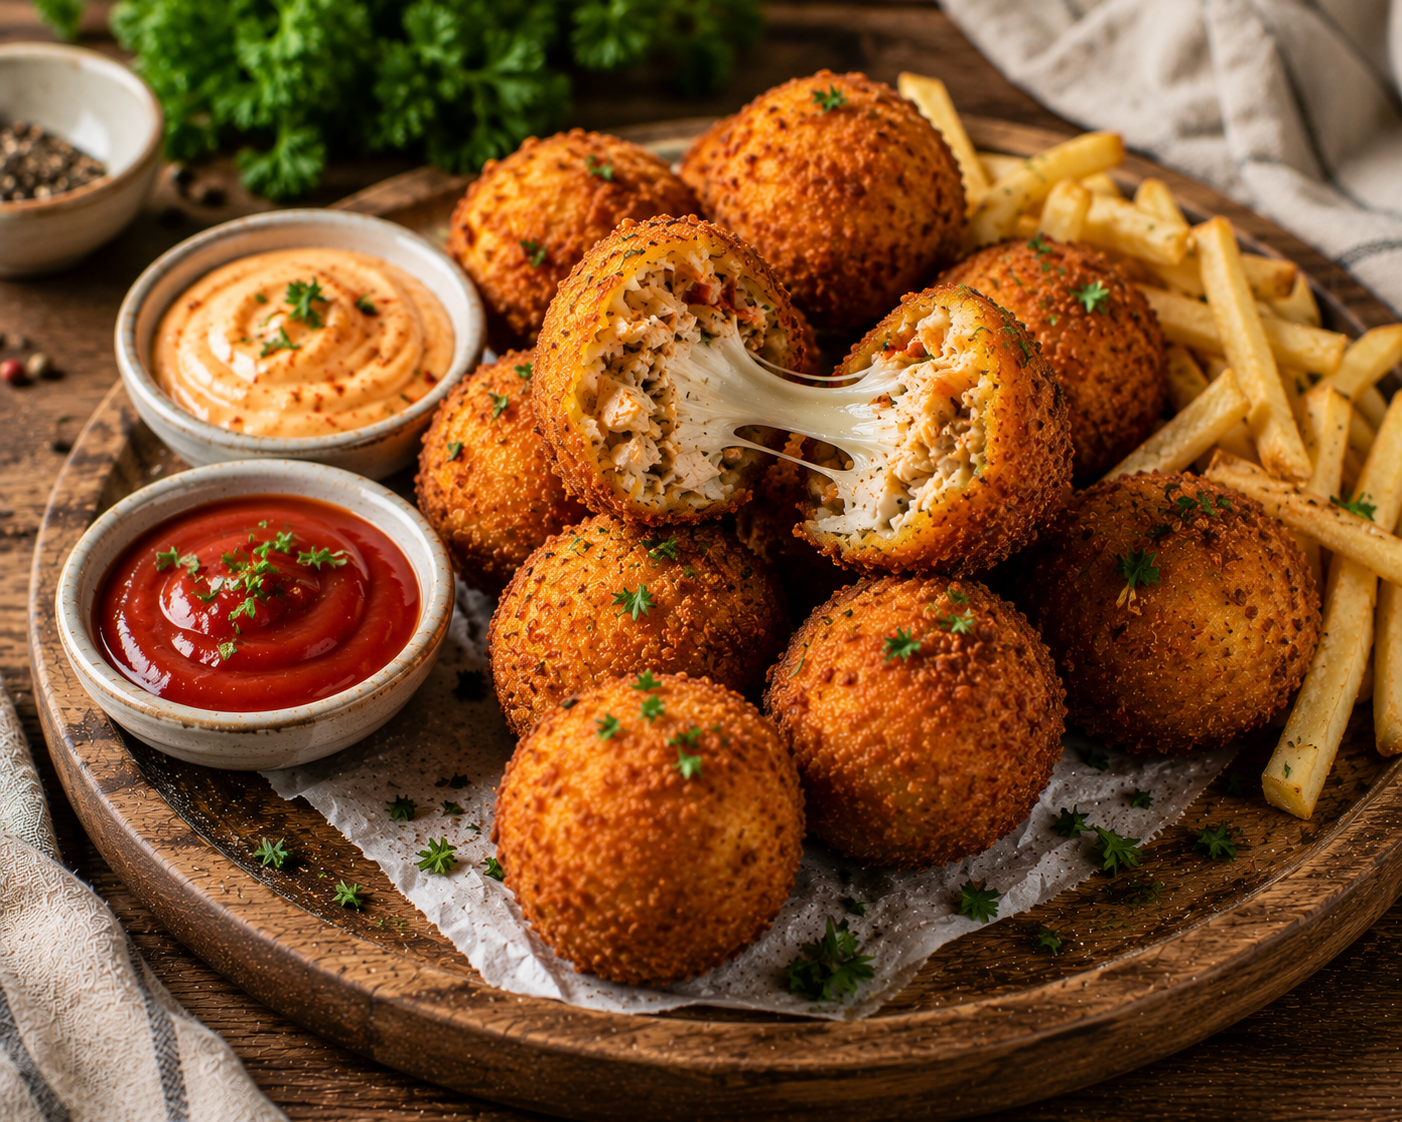
Visual Cue: Crispy golden exterior with melted cheese stretching from the center when broken open.
Texture Cue: Crunchy outside and creamy inside.
Chef’s Tip: Let them cool for about 2 minutes before serving to avoid losing the melted cheese when taking the first bite.
Expert Tips
- Use freshly shredded cheese for smoother melting.
- Chill the filling before shaping for easier handling.
- Double-coat with breadcrumbs for an extra crispy crust.
- Always fry at 350°F (175°C) for the best results.
- Avoid overcrowding the pan to maintain oil temperature.
- Serve immediately while the cheese is still warm and stretchy.
- Freeze uncooked cheese balls for a quick homemade snack anytime.
Common Mistakes and How to Avoid Them
Cheese Leaks Out During Frying
Cause: Thin coating or cracks in the surface.
Solution: Double-coat with breadcrumbs and seal each cheese ball carefully.
Cheese Balls Fall Apart
Cause: Mixture is too wet.
Solution: Add a little more breadcrumbs and chill before shaping.
Greasy Cheese Balls
Cause: Oil temperature is too low.
Solution: Maintain a steady frying temperature of 350°F (175°C).
Burnt Outside, Cold Inside
Cause: Oil is too hot.
Solution: Lower the heat slightly and fry until evenly golden brown.
Not Crispy Enough
Cause: Single coating or overcrowding the pan.
Solution: Double-coat the cheese balls and fry in small batches.
Recipe Variations
One of the best things about these Crispy Chicken Cheese Balls is how easy they are to customize. Whether you’re preparing them for kids, parties, or game nights, these delicious variations will keep everyone coming back for more.
🧀 Extra Cheesy Chicken Cheese Balls
Love cheese? Place a cube of mozzarella in the center of each chicken ball before coating. When fried, every bite will have an irresistible gooey cheese pull.
🌶️ Spicy Chicken Cheese Balls
Add chopped jalapeños, crushed red pepper flakes, or extra cayenne pepper to the filling for a spicy kick. Pair with chipotle mayo for even more flavor.
🥓 BBQ Chicken Cheese Balls
Mix a little BBQ sauce into the chicken mixture and serve with smoky barbecue dipping sauce.
🥦 Healthy Air Fryer Version
Skip deep frying and cook the cheese balls in an air fryer at 390°F (200°C) for 10–12 minutes. They come out crispy with much less oil.
🍕 Pizza Style Cheese Balls
Mix chopped pepperoni (or beef pepperoni), Italian herbs, and mozzarella into the filling. Serve with warm marinara sauce.
🌿 Herb & Garlic Version
Add fresh parsley, basil, oregano, and Parmesan cheese for an Italian-inspired flavor.
What to Serve with Crispy Chicken Cheese Balls
These cheesy bites pair perfectly with a variety of side dishes and dips.
Dipping Sauces
- Spicy Mayo
- Garlic Aioli
- Ranch Dressing
- Honey Mustard
- BBQ Sauce
- Sweet Chili Sauce
- Marinara Sauce
- Buffalo Sauce
Side Dishes
- French Fries
- Potato Wedges
- Onion Rings
- Garlic Bread
- Coleslaw
- Mac and Cheese
- Caesar Salad
- Fresh Garden Salad
Drinks
- Fresh Lemonade
- Iced Tea
- Cola
- Sparkling Water
- Mango Smoothie
Perfect for Every Occasion
These crispy chicken cheese balls are a great choice for:
- Birthday Parties
- Family Gatherings
- Tea Time
- Movie Nights
- Game Day Snacks
- Lunch Boxes
- Holiday Appetizers
- Weekend Treats
Make-Ahead Tips
Want to save time? Prepare the chicken mixture and shape the cheese balls up to 24 hours in advance. Keep them covered in the refrigerator until you’re ready to coat and cook.
You can also bread the cheese balls ahead of time and refrigerate them for a few hours before frying or air frying.
Meal Prep Tips
These cheese balls are perfect for meal prep.
Freeze uncooked breaded cheese balls on a baking tray until firm, then transfer them to a freezer-safe bag. Cook directly from frozen by adding a few extra minutes to the cooking time.
Storage Instructions
Refrigerator
Store leftover cheese balls in an airtight container for up to 4 days.
Freezer
Freeze cooked or uncooked cheese balls for up to 3 months.
Thaw overnight in the refrigerator before reheating.
Reheating Instructions
Air Fryer (Recommended)
Heat at 375°F (190°C) for 4–5 minutes until crispy.
Oven
Bake at 375°F (190°C) for 8–10 minutes.
Microwave
Heat in 30-second intervals until warmed through. Keep in mind the coating will be softer than when reheated in an oven or air fryer.
Nutrition Information (Approximate)
| Nutrient | Per Cheese Ball |
|---|---|
| Calories | 120 kcal |
| Protein | 7 g |
| Carbohydrates | 8 g |
| Fat | 7 g |
| Saturated Fat | 3 g |
| Fiber | 0.5 g |
| Sugar | 1 g |
| Sodium | 180 mg |
Note: Nutrition values are estimates and may vary depending on the ingredients and cooking method used.
Frequently Asked Questions
Can I make these ahead of time?
Yes! Prepare and coat the cheese balls in advance, then refrigerate or freeze until you’re ready to cook.
Can I use canned chicken?
Yes, but freshly cooked or rotisserie chicken provides the best flavor and texture.
Which cheese melts the best?
Low-moisture mozzarella is ideal for that classic stretchy cheese pull.
Can I bake these instead of frying?
Absolutely. Bake at 400°F (200°C) for 18–20 minutes, turning halfway through.
Why did my cheese leak out?
This usually happens if the cheese balls aren’t sealed properly or the coating is too thin. Double-coating helps prevent leaks.
Can I freeze uncooked cheese balls?
Yes. Freeze them on a tray first, then transfer to a freezer-safe bag for longer storage.
Are these kid-friendly?
Definitely! Reduce the spices if you’re serving them to children.
What sauces go best with them?
Spicy mayo, ranch, garlic aioli, BBQ sauce, and sweet chili sauce are all excellent choices.
Final Thoughts
If you’re looking for a snack that’s crispy on the outside, cheesy on the inside, and packed with flavor, these Crispy Chicken Cheese Balls are guaranteed to become one of your go-to recipes. They’re easy to make, perfect for sharing, and always a crowd favorite—whether it’s a family gathering, party, or cozy movie night at home.
The best part is how versatile they are. You can fry, bake, or air fry them, experiment with different cheeses and seasonings, and pair them with your favorite dipping sauces for a new experience every time.
⭐⭐⭐⭐⭐ Tried this recipe? We’d love to hear how it turned out! Leave a rating and share your experience in the comments below.
🍗 Looking for more crispy comfort food? Don’t miss our Crispy Chicken Sandwich Recipe for a restaurant-style sandwich loaded with juicy chicken and fresh toppings. If you’re a burger lover, be sure to check out our Crispy Chicken Cheeseburger Recipe, featuring a crunchy chicken patty, melted cheese, and a perfectly toasted bun. These recipes pair perfectly with today’s cheese balls and are sure to satisfy every craving.
👉 Follow our website and bookmark it for more easy, family-friendly recipes, delicious snacks, bakery favorites, and restaurant-style meals. We publish new recipes regularly, so your next favorite dish is always just one click away!