Quick Recipe Summary
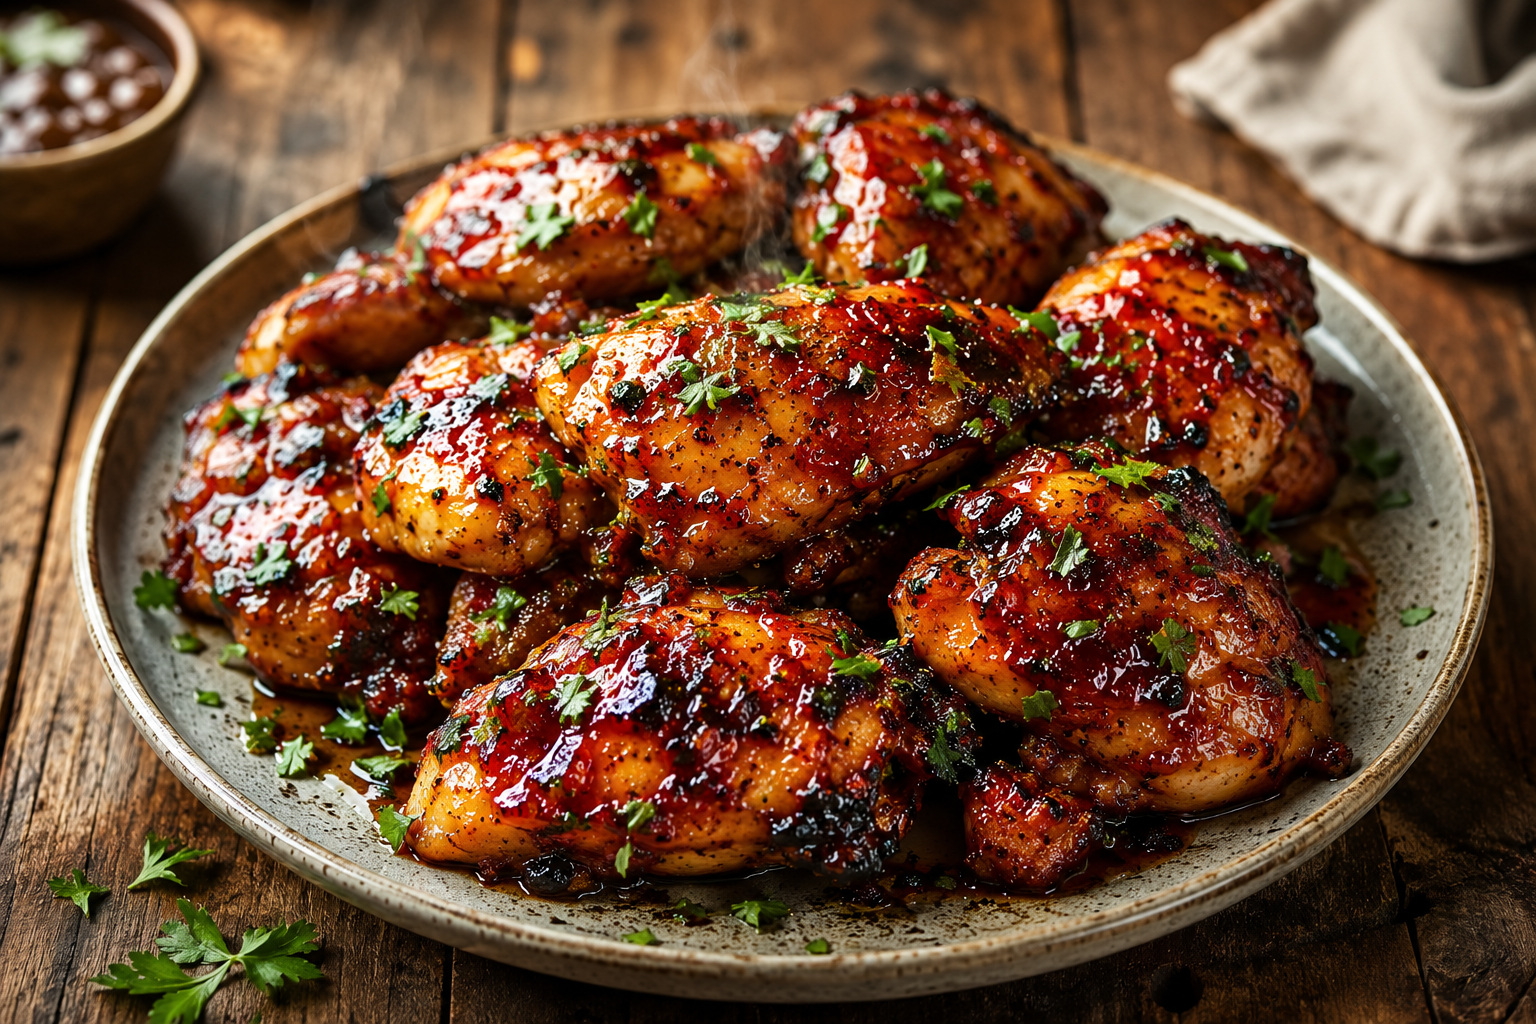
| Detail | Information |
|---|---|
| Prep Time | 20 Minutes |
| Cook Time | 25 Minutes |
| Total Time | 45 Minutes |
| Servings | 4 |
| Cuisine | American |
| Course | Main Course |
| Difficulty | Easy |
| Cooking Method | Fried or Air Fried |
| Calories | ~520 kcal per serving |
Table of Contents
| Section |
|---|
| Introduction |
| Why This Recipe Works |
| Why You’ll Love It |
| Ingredient Notes |
| Kitchen Equipment |
| Preparation Information |
| Step-by-Step Instructions |
| Expert Tips |
| Common Mistakes |
| Recipe Variations |
| What to Serve With It |
| Make-Ahead Tips |
| Storage Instructions |
| Reheating Guide |
| Nutrition Information |
| Troubleshooting |
| Frequently Asked Questions |
| Final Thoughts |
Introduction
Few dishes strike the perfect balance between sweet, smoky, spicy, and crispy quite like Crispy Honey Chipotle Chicken. Every bite delivers an irresistible crunch followed by a rich glaze made from golden honey and smoky chipotle peppers, creating a flavor that’s bold without being overwhelming.
Whether you’re planning a quick family dinner, preparing food for game night, or simply craving restaurant-style chicken at home, this recipe delivers impressive results using simple pantry ingredients. The crispy coating stays crunchy even after being tossed in the sticky glaze, making every bite packed with texture and flavor.
One of the best parts about this recipe is its versatility. You can deep fry it for classic crunch, cook it in an air fryer for a lighter option, or even bake it in the oven while still achieving delicious results. Once you try this homemade version, it may become one of your favorite comfort food recipes.
Why This Recipe Works
This recipe is designed to create layers of flavor and texture in every bite.
The seasoned flour coating forms a crisp exterior that locks in the natural juices of the chicken. A light egg coating helps the breading adhere evenly, ensuring every piece cooks to a beautiful golden brown.
The honey chipotle glaze combines sweetness, smokiness, gentle heat, and a touch of richness. As the warm glaze coats the freshly cooked chicken, it creates a glossy finish that clings perfectly without making the crust soggy.
Another reason this recipe stands out is its flexibility. It works equally well with chicken breasts, thighs, or boneless tenders, allowing you to customize it based on your preferences.
Why You’ll Love This Recipe
- Perfect balance of sweet, smoky, and spicy flavors.
- Extra crispy coating that stays crunchy.
- Simple pantry-friendly ingredients.
- Family-friendly and crowd-pleasing.
- Great for weeknight dinners or parties.
- Easy to prepare ahead of time.
- Air fryer, oven, and deep-frying options.
- Better value than takeout.
- Beginner-friendly with professional results.
- Easily customizable to suit different spice levels.
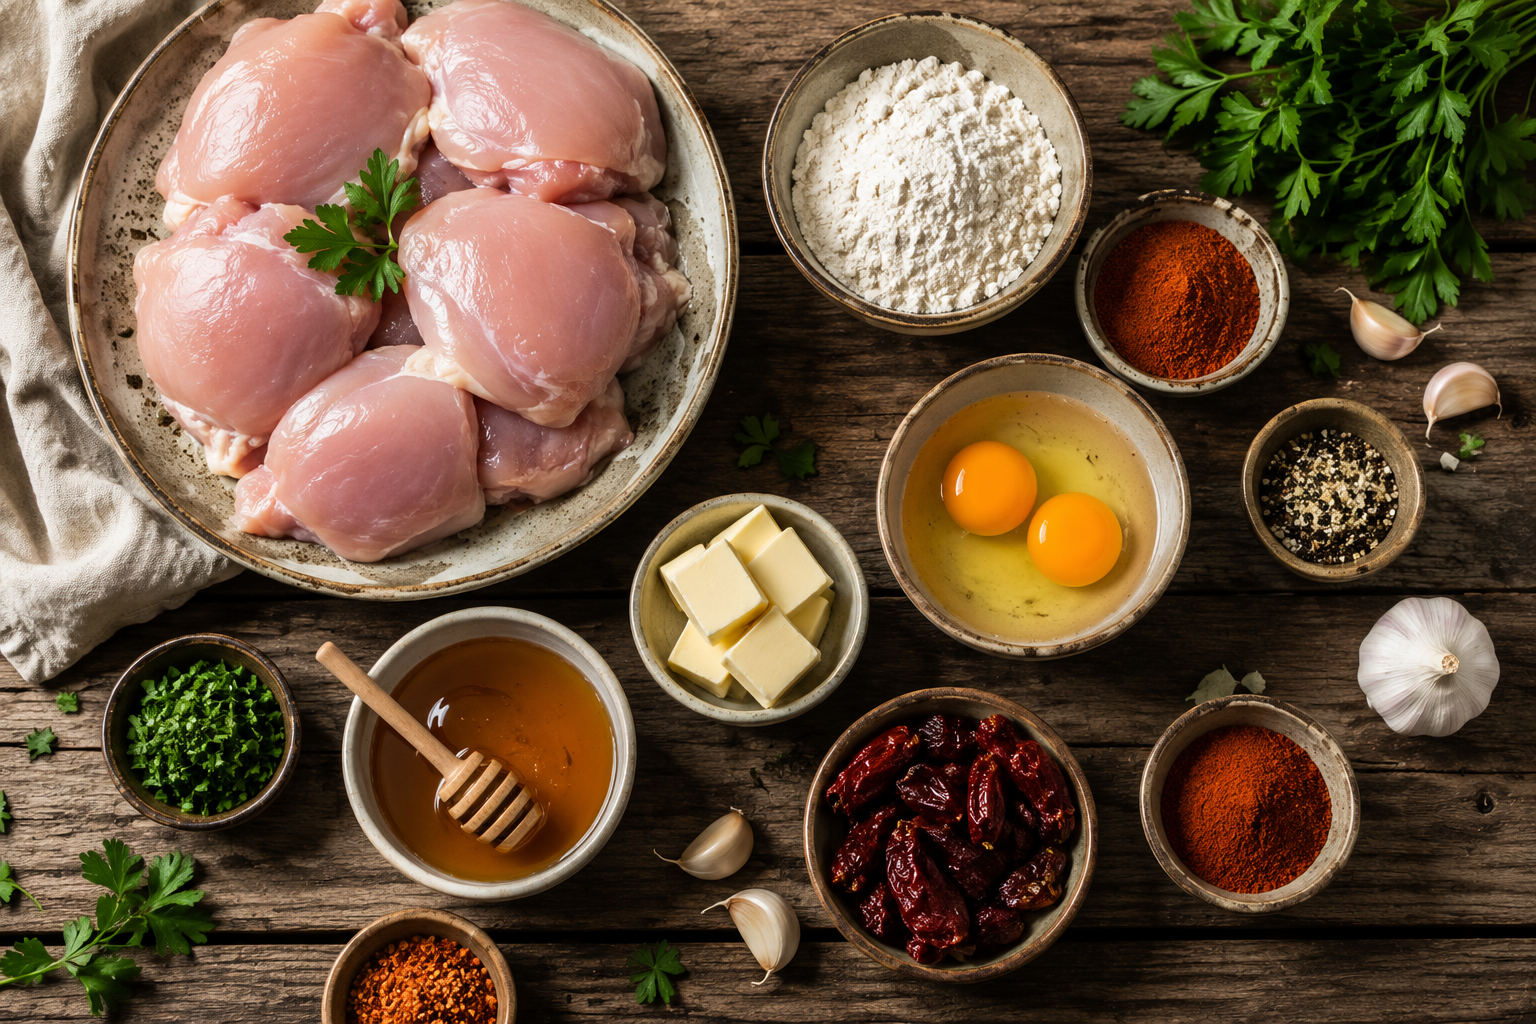
Ingredient Notes
Chicken
Use boneless chicken thighs for the juiciest results or chicken breasts if you prefer lean meat. Cut the chicken into evenly sized pieces to ensure even cooking.
Substitute: Chicken tenders or boneless drumstick meat.
Buying Tip: Choose fresh chicken with a firm texture and no excess liquid in the package.
All-Purpose Flour
Flour creates the crispy outer coating.
Adding spices directly into the flour ensures every bite is flavorful.
Cornstarch
Cornstarch makes the crust lighter and crispier by reducing gluten development.
If unavailable, potato starch is another excellent option.
Eggs
Eggs help the coating stick firmly to the chicken while creating an even crust.
Honey
Honey provides the signature sweetness while helping create the glossy glaze.
Choose pure honey for the best flavor.
Chipotle Peppers in Adobo Sauce
These peppers provide smoky heat and deep flavor.
Adjust the quantity according to your preferred spice level.
Garlic
Fresh garlic enhances the glaze with aromatic depth.
Fresh cloves provide much better flavor than garlic powder.
Butter
Butter adds richness and creates a silky glaze.
Smoked Paprika
This spice reinforces the smoky flavor while adding beautiful color.
Salt & Black Pepper
Simple seasonings that enhance every ingredient.
Optional Garnishes
- Fresh parsley
- Sesame seeds
- Green onions
- Chili flakes
- Lime wedges
Kitchen Equipment
Required
- Large mixing bowls
- Measuring cups and spoons
- Whisk
- Chef’s knife
- Cutting board
- Heavy-bottom skillet or deep fryer
- Tongs
- Wire rack
- Paper towels
- Saucepan
- Instant-read thermometer (recommended)
Optional
- Air fryer
- Baking sheet
- Cooling rack
- Kitchen thermometer
- Silicone brush
Preparation Information
| Item | Details |
|---|---|
| Prep Time | 20 Minutes |
| Cook Time | 25 Minutes |
| Total Time | 45 Minutes |
| Servings | 4 |
| Estimated Calories | 520 kcal |
Step 1: Prepare the Chicken
Start by trimming any excess fat from the chicken and cutting it into evenly sized bite-sized pieces. Uniform pieces cook at the same rate, preventing some from drying out while others remain undercooked.
Pat the chicken dry with paper towels before seasoning. Removing excess moisture helps the breading stick better and creates a crispier crust.
Season the chicken lightly with salt, black pepper, garlic powder, onion powder, and smoked paprika. Let it rest for 10–15 minutes so the seasoning has time to penetrate the meat.
Why this matters: Proper seasoning at the beginning builds flavor throughout the chicken instead of leaving it only on the surface.
Visual Cue: The chicken should look evenly coated with seasoning, not wet or clumpy.
Texture Cue: The surface should feel slightly dry, which helps the coating adhere.
Common Mistake: Skipping the drying step often leads to breading falling off during cooking.
Pro Tip: If you have extra time, marinate the seasoned chicken in buttermilk for 30 minutes for an even juicier result.
Step 2: Prepare the Crispy Coating
In a large bowl, combine all-purpose flour, cornstarch, smoked paprika, garlic powder, onion powder, black pepper, salt, and a pinch of cayenne pepper if you enjoy a little extra heat.
Whisk everything thoroughly so the spices are evenly distributed.
In a separate bowl, whisk together eggs with a splash of milk or buttermilk.
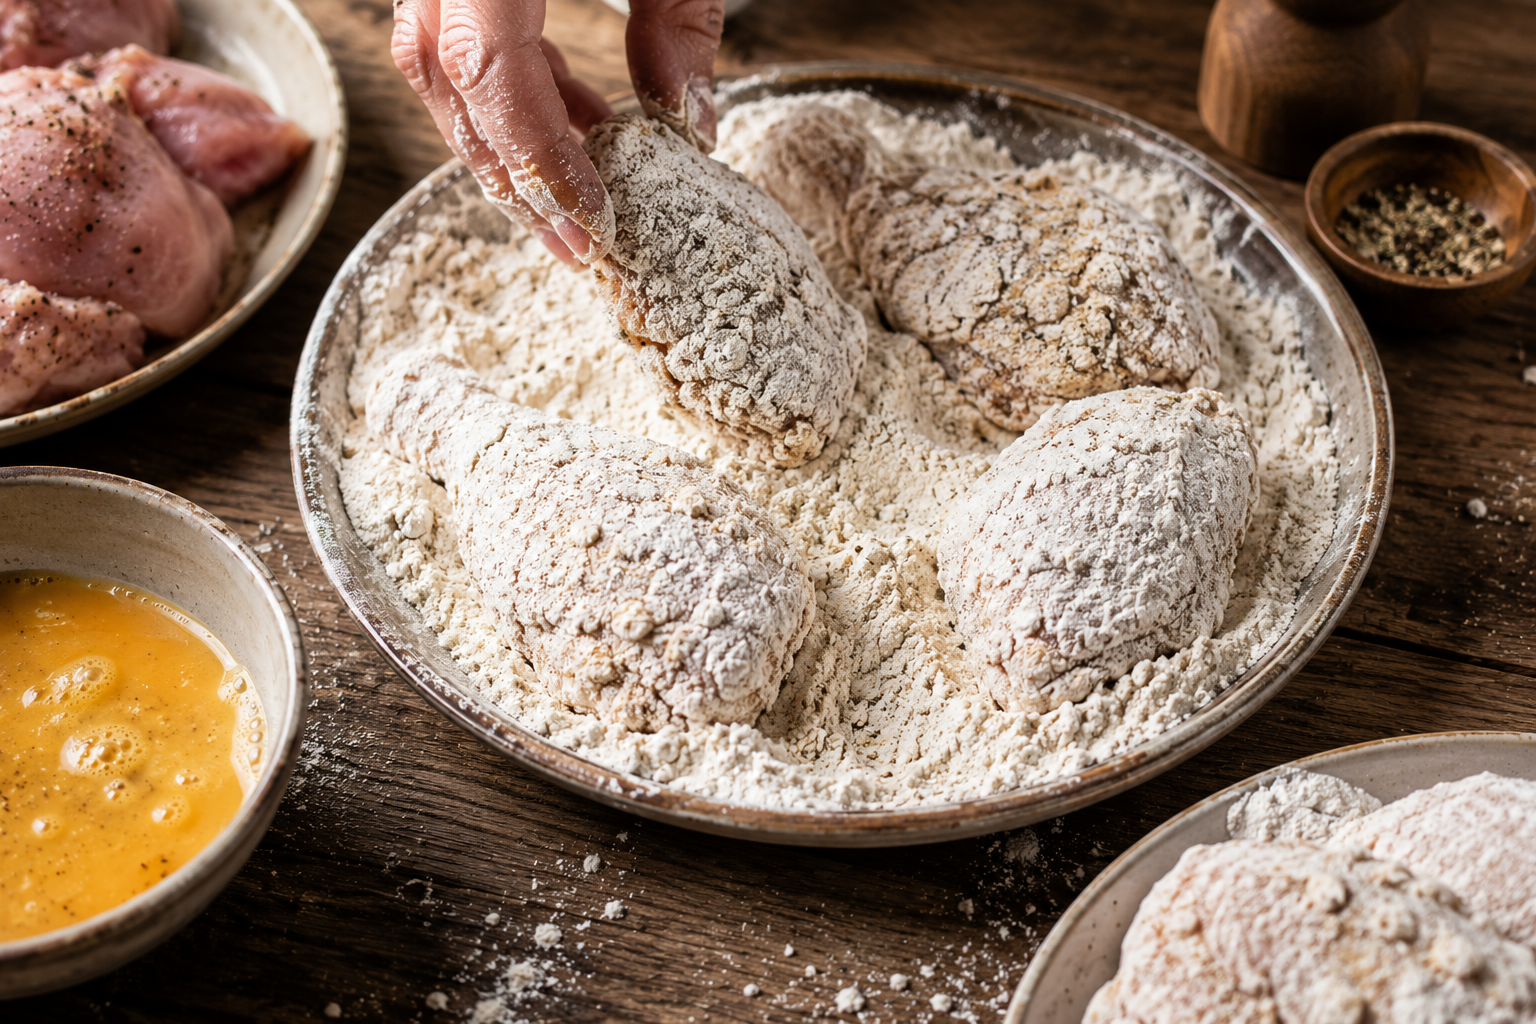
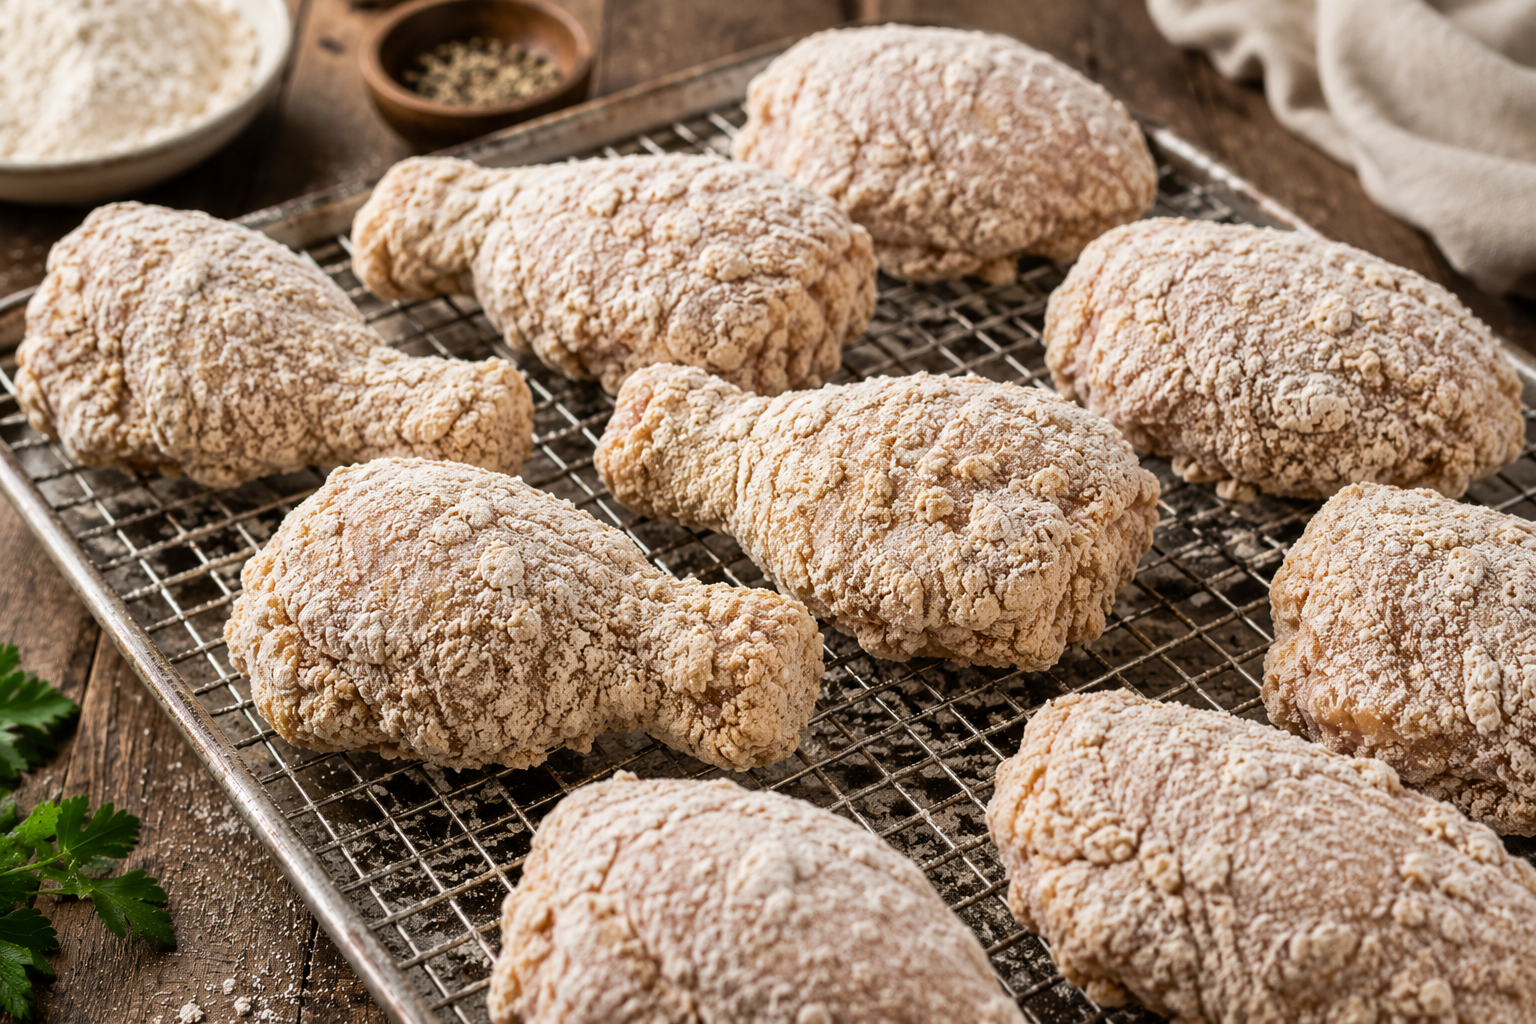
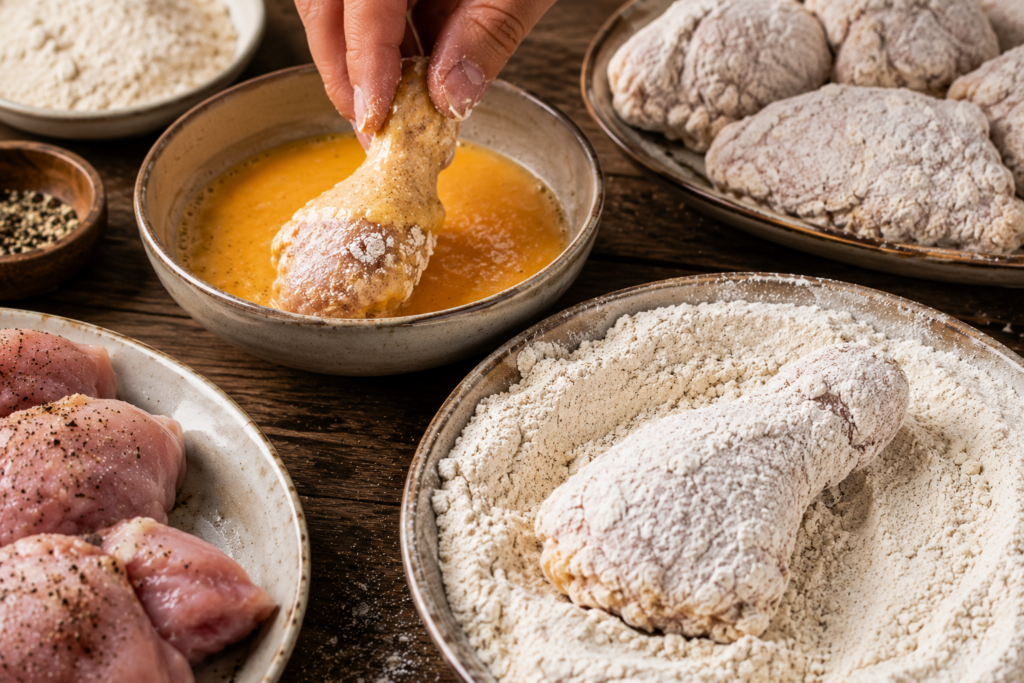
For maximum crunch, dredge each chicken piece in the seasoned flour, dip it into the egg mixture, then return it to the flour for a second coating. Press the flour gently onto the chicken so it forms a textured crust.
Why this matters: Double coating creates the signature thick, crunchy exterior that stays crisp even after being coated in sauce.
Visual Cue: The breading should appear rough and slightly shaggy rather than smooth.
Texture Cue: The coating should feel dry and firmly attached.
Common Mistake: Thin or patchy coating produces uneven browning.
Chef’s Tip: Let the coated chicken rest for 10 minutes before frying. This helps the breading bond to the meat and reduces the chance of it falling off.
Step 3: Fry Until Golden Brown
Heat vegetable or canola oil to 350°F (175°C) in a heavy-bottomed pan or deep fryer.
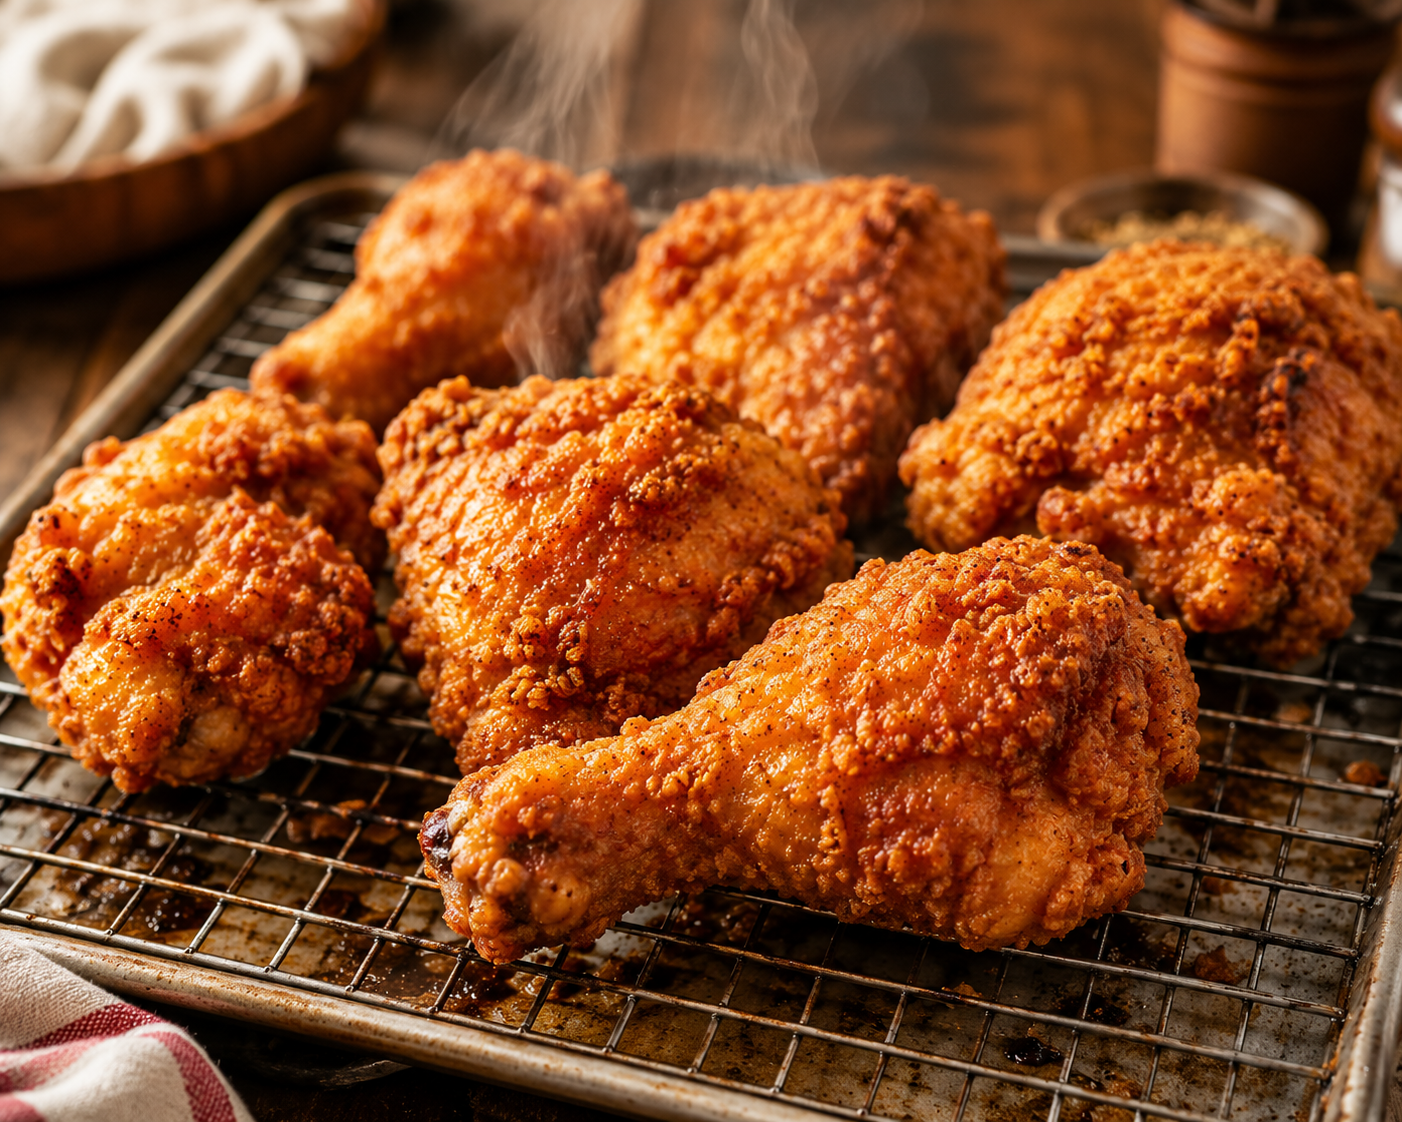
Carefully place the chicken into the hot oil without overcrowding the pan. Fry in small batches for about 5–7 minutes, turning occasionally until the coating becomes deep golden brown and the internal temperature reaches 165°F (74°C).
Transfer the cooked chicken to a wire rack instead of paper towels. A wire rack keeps air circulating around the chicken, preserving its crispy texture.
Why this matters: Correct oil temperature ensures a crunchy exterior while keeping the inside juicy.
Visual Cue: The coating should be evenly golden brown with no pale spots.
Texture Cue: The crust should feel crisp when tapped with tongs.
Aroma Cue: You’ll notice a rich aroma of toasted spices and fried chicken.
Common Mistake: Overcrowding lowers the oil temperature, making the coating greasy instead of crispy.
Chef’s Tip: Always allow the oil to return to 350°F before frying the next batch.
Step 4: Make the Honey Chipotle Glaze
While the chicken cooks, prepare the glaze.
In a saucepan over medium heat, melt butter and sauté freshly minced garlic until fragrant.
Add honey, finely chopped chipotle peppers in adobo sauce, a small splash of apple cider vinegar, and a little tomato paste or ketchup for extra body if desired.
Stir continuously for 3–5 minutes until the sauce thickens slightly and develops a glossy finish.
Taste and adjust the sweetness or heat to your preference.
Why this matters: Cooking the glaze briefly allows the flavors to blend while thickening it enough to coat the chicken evenly.
Visual Cue: The glaze should become shiny and slightly syrupy.
Texture Cue: It should coat the back of a spoon without dripping immediately.
Aroma Cue: Sweet honey mixed with smoky chipotle and garlic creates an irresistible aroma.
Common Mistake: Cooking the glaze too long may cause the honey to caramelize excessively and burn.
Chef’s Tip: Add a teaspoon of butter at the end for an extra silky finish.
Step 5: Coat the Chicken
Place the freshly fried chicken into a large mixing bowl.
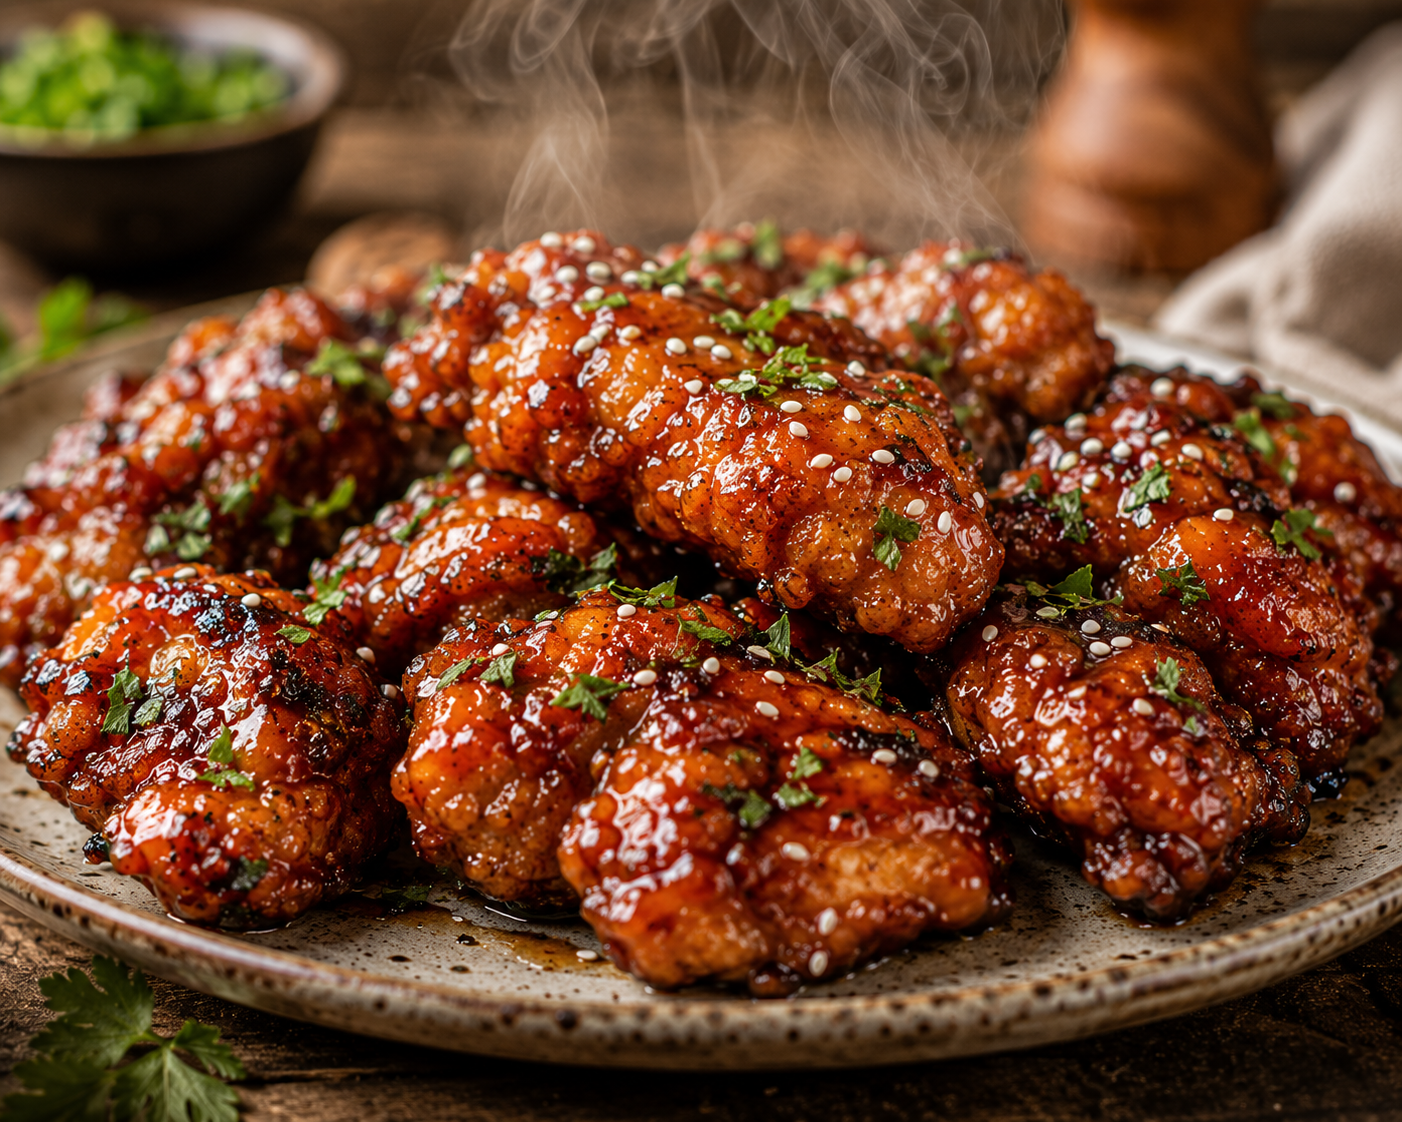
Pour the warm honey chipotle glaze over the chicken and gently toss until every piece is evenly coated.
Work quickly so the glaze sticks while the chicken is still hot.
Serve immediately for the perfect balance of crispy coating and sticky glaze.
Why this matters: Freshly cooked chicken absorbs the glaze better while maintaining its crunch.
Visual Cue: Every piece should have an even glossy coating.
Texture Cue: Crispy outside, juicy inside.
Aroma Cue: Sweet honey, smoky peppers, garlic, and toasted spices blend into an inviting fragrance.
Common Mistake: Allowing the chicken to cool completely before glazing results in poor sauce adhesion.
Chef’s Tip: Garnish with chopped parsley, green onions, sesame seeds, or a drizzle of extra honey before serving.
Expert Tips
- Use chicken thighs for the juiciest and most flavorful results.
- Cornstarch in the breading creates an extra-light, crunchy crust.
- Always fry in small batches to maintain the correct oil temperature.
- Rest breaded chicken for 10 minutes before frying.
- Toss the chicken in warm—not boiling—glaze to preserve the crispy coating.
- Use fresh garlic instead of garlic powder in the sauce for deeper flavor.
- Taste the glaze before coating the chicken so you can adjust sweetness or spice.
- Serve immediately for the best texture and flavor.
Common Mistakes and How to Avoid Them
Breading Falls Off
Cause: Wet chicken or insufficient resting time.
Fix: Pat the chicken dry and let the coated pieces rest before frying.
Chicken Turns Greasy
Cause: Oil temperature too low.
Fix: Maintain the oil at approximately 350°F (175°C) throughout cooking.
Burnt Glaze
Cause: Honey cooked over high heat for too long.
Fix: Simmer gently over medium-low heat while stirring frequently.
Dry Chicken
Cause: Overcooking.
Fix: Use a meat thermometer and remove the chicken as soon as it reaches 165°F (74°C).
Soggy Coating
Cause: Covering hot chicken or placing it directly on paper towels for too long.
Fix: Cool the chicken briefly on a wire rack and glaze it just before serving.
Recipe Variations
One of the best things about this Crispy Honey Chipotle Chicken Recipe is how easy it is to customize. Whether you prefer extra spice, a healthier version, or want to experiment with different proteins, these variations will help you make the recipe your own.
Extra Spicy Honey Chipotle Chicken
If you enjoy bold heat, increase the amount of chipotle peppers and add a teaspoon of cayenne pepper to the breading. Finish with sliced fresh jalapeños and a sprinkle of red pepper flakes for an extra kick.
Best For: Spice lovers and game-day appetizers.
Extra Crispy Version
For an even crunchier coating, replace part of the flour with additional cornstarch and double-coat the chicken before frying.
Let the coated chicken rest for 10–15 minutes before cooking to help the crust adhere better.
Air Fryer Version
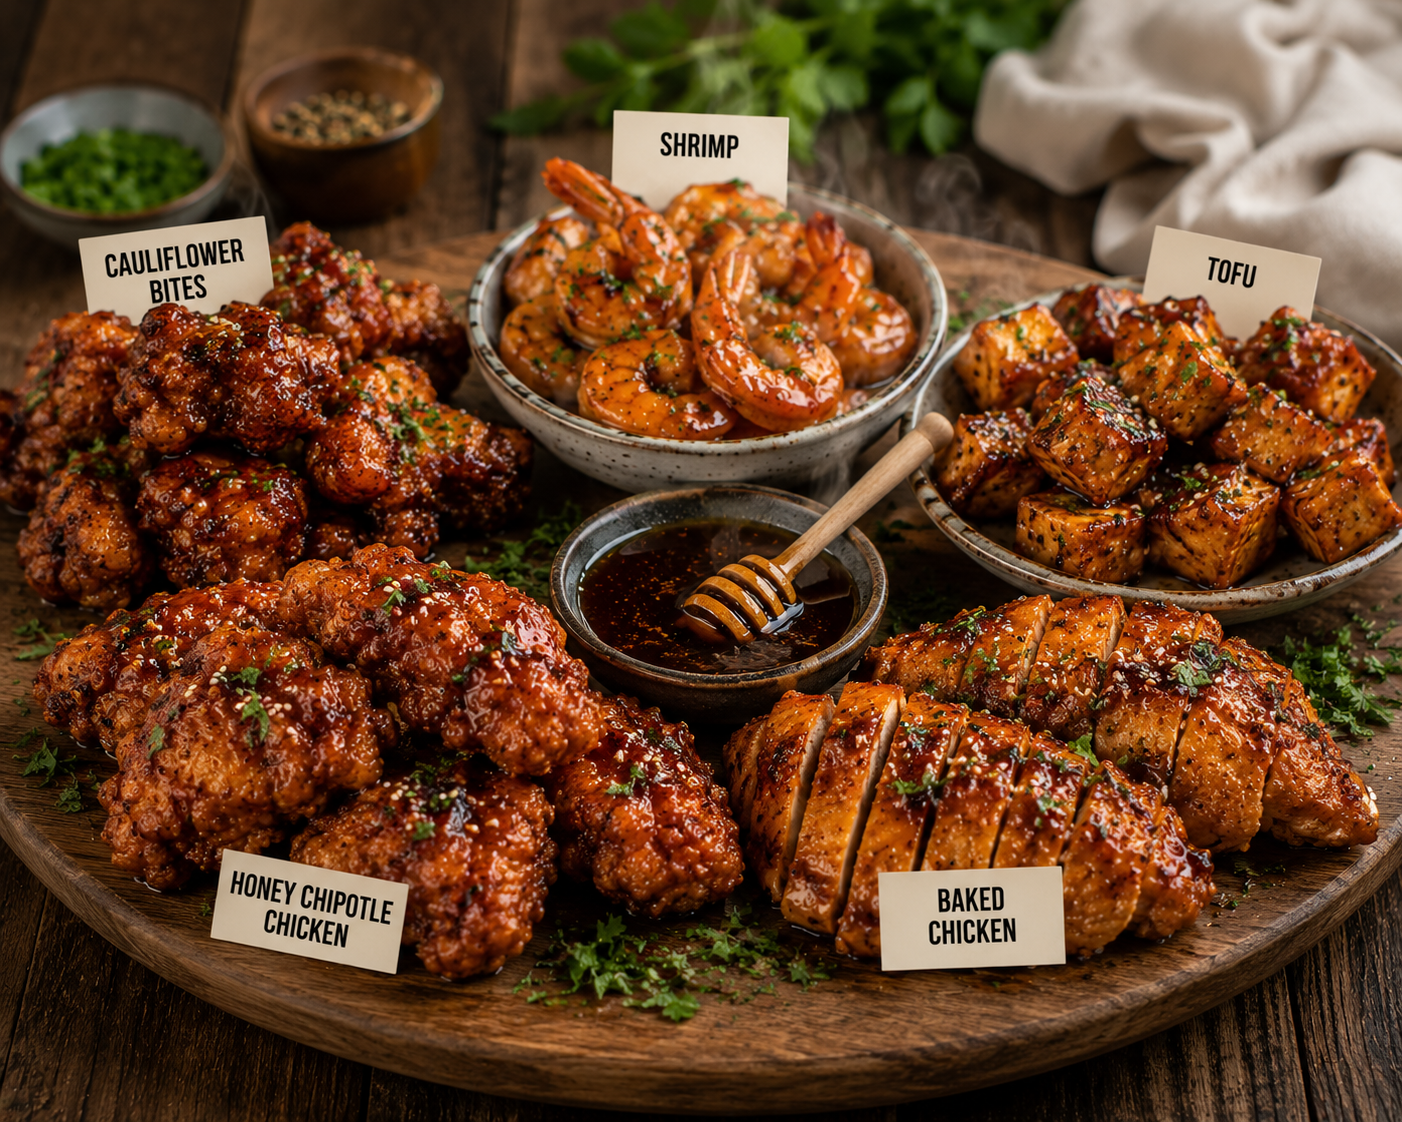
For a lighter option, arrange the coated chicken in a single layer inside a preheated air fryer.
- Cook at 390°F (200°C) for 12–15 minutes.
- Flip halfway through cooking.
- Lightly spray with cooking oil for a crisp golden finish.
Toss with the warm honey chipotle glaze immediately before serving.
Oven-Baked Version
Bake on a wire rack placed over a baking tray.
- Bake at 425°F (220°C) for 25–30 minutes.
- Flip once halfway through.
- Brush lightly with oil before baking.
This method creates a crisp exterior with less oil.
Healthy Version
For a lighter meal:
- Use skinless chicken breast.
- Bake or air fry instead of deep frying.
- Reduce the honey slightly.
- Serve with steamed vegetables or a fresh salad.
High-Protein Version
Increase the protein content by:
- Using lean chicken breast.
- Serving with quinoa or brown rice.
- Pairing with Greek yogurt ranch instead of heavy dipping sauces.
Perfect for meal prep and fitness-focused meals.
Gluten-Free Version
Simply substitute:
- Gluten-free all-purpose flour
- Certified gluten-free cornstarch
Always check that your chipotle sauce and seasonings are gluten-free.
Vegetarian Version
Replace chicken with:
- Cauliflower florets
- Extra-firm tofu
- Paneer
- Oyster mushrooms
Bread and cook exactly the same way before tossing in the glaze.
Vegan Version
Use:
- Firm tofu or cauliflower
- Plant-based milk
- Flaxseed egg substitute
- Vegan butter
- Maple syrup instead of honey
You’ll still enjoy the same sweet, smoky flavor profile.
Seafood Version
The honey chipotle glaze also pairs beautifully with:
- Shrimp
- Salmon bites
- Cod
- White fish fillets
Seafood cooks much faster, so avoid overcooking.
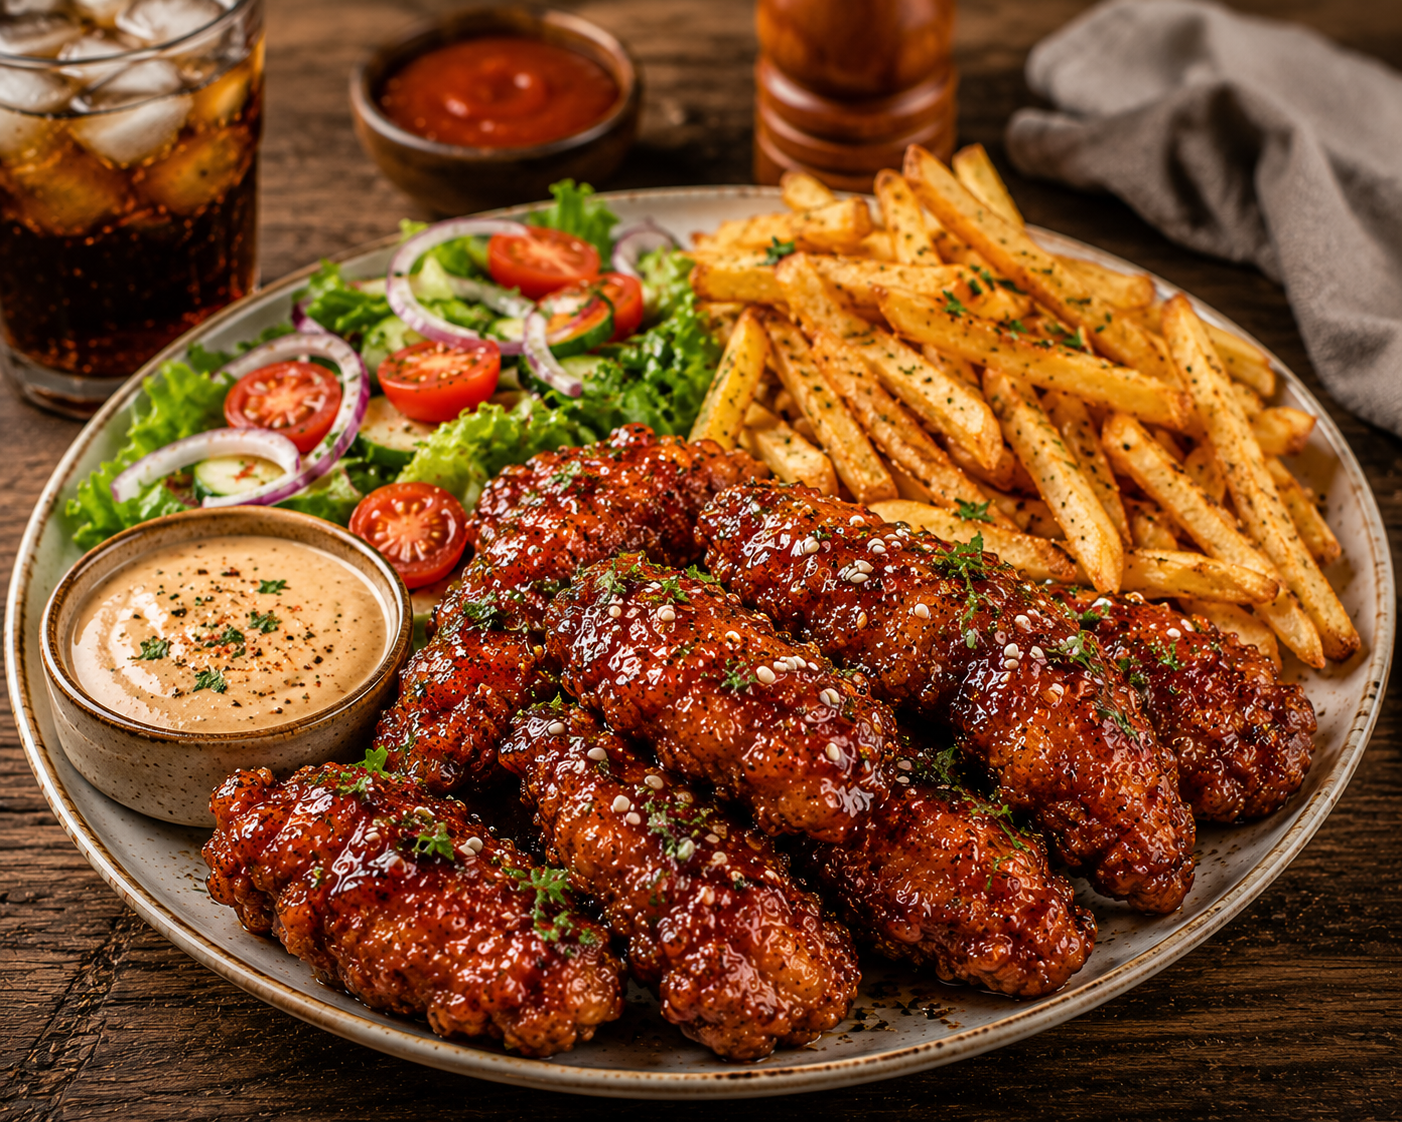
What to Serve with Honey Chipotle Chicken
The sweet, smoky glaze pairs well with a variety of side dishes that balance its rich flavor.
Side Dishes
- Crispy French Fries
- Sweet Potato Fries
- Garlic Mashed Potatoes
- Mac and Cheese
- Buttered Corn
- Roasted Vegetables
- Garlic Bread
- Seasoned Potato Wedges
Rice Options
- Steamed White Rice
- Cilantro Lime Rice
- Garlic Butter Rice
- Mexican Rice
- Brown Rice
Fresh Salads
A crisp salad adds freshness to the meal.
Some excellent choices include:
- Caesar Salad
- Coleslaw
- Garden Salad
- Cucumber Salad
- Avocado Tomato Salad
- Broccoli Salad
Dipping Sauces
Serve alongside:
- Ranch Dressing
- Garlic Aioli
- Blue Cheese Dressing
- Honey Mustard
- Chipotle Mayo
- BBQ Sauce
Drinks
Pair this recipe with refreshing beverages such as:
- Fresh Lemonade
- Sweet Iced Tea
- Sparkling Water
- Mango Smoothie
- Cola
- Fresh Lime Soda
Desserts
Finish your meal with:
- Cheesecake
- Brownies
- Chocolate Lava Cake
- Apple Pie
- Vanilla Ice Cream
- Chocolate Chip Cookies
Make-Ahead Tips
Planning ahead can make busy weeknight dinners much easier.
- Season the chicken up to 24 hours in advance.
- Prepare the breading mixture several days ahead and store it in an airtight container.
- Make the honey chipotle glaze 2–3 days before serving.
- Bread the chicken a few hours before cooking and refrigerate it on a wire rack.
Avoid glazing the chicken until just before serving to preserve its crispy texture.
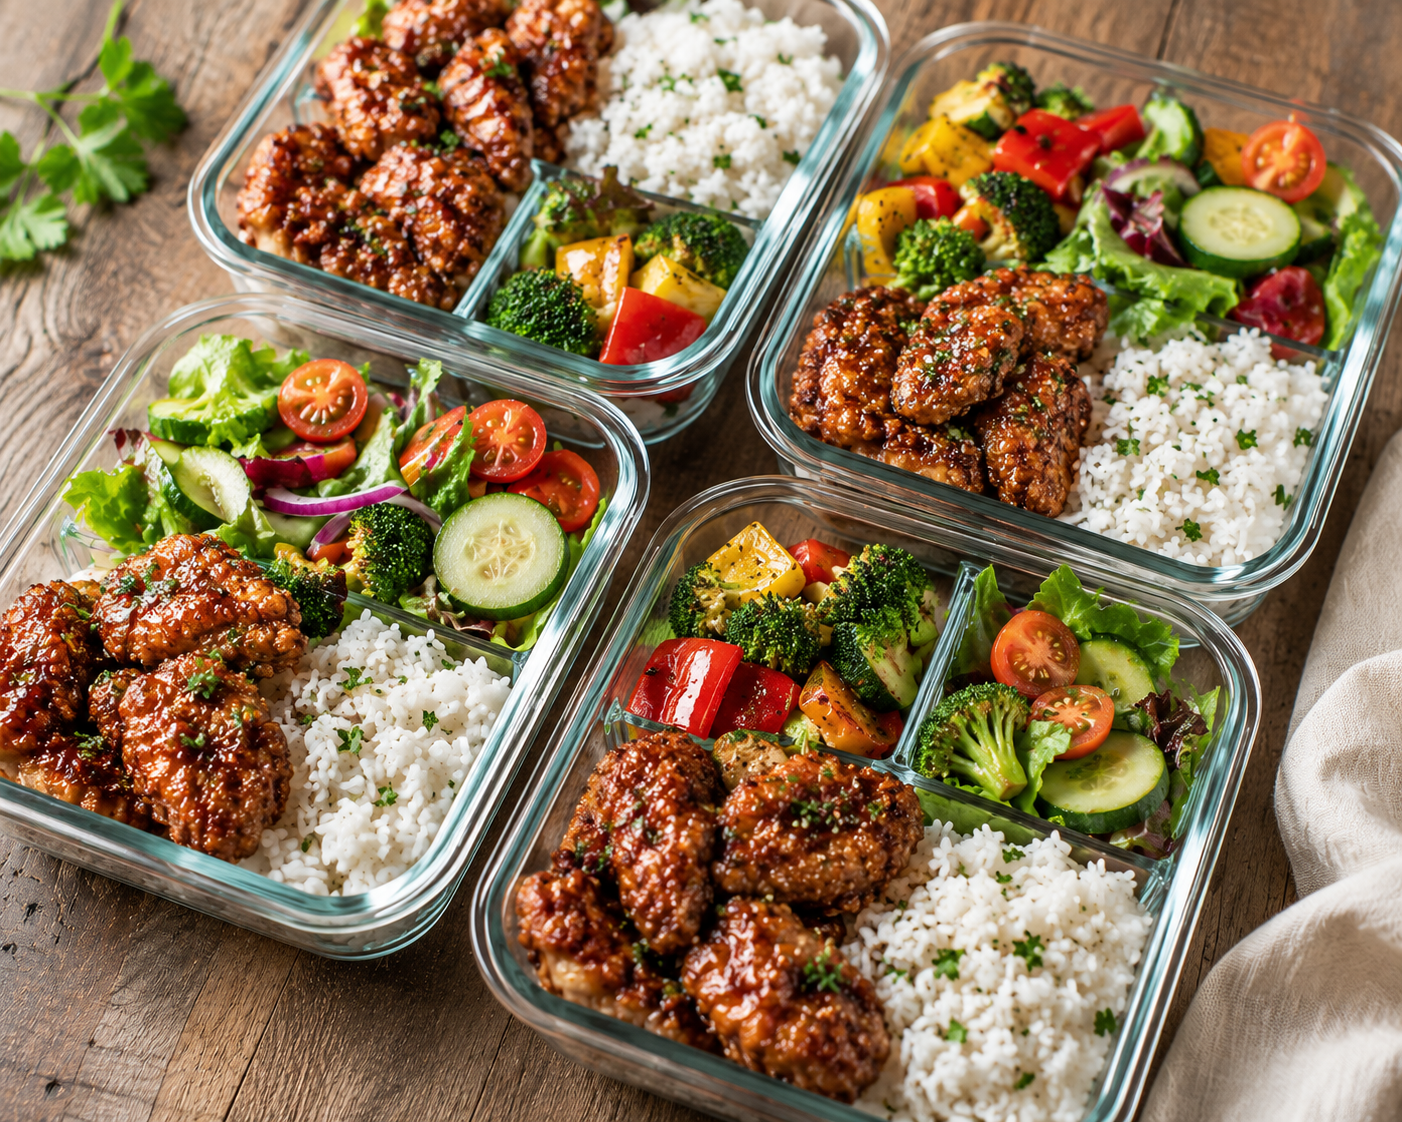
Meal Prep Tips
This recipe is ideal for weekly meal prep.
Store cooked chicken and glaze separately to keep the coating crisp.
For meal prep containers, pair the chicken with:
- Rice
- Roasted vegetables
- Fresh salad
- Corn
- Mashed potatoes
Properly stored, the meal stays delicious for several days.
Storage Instructions
Refrigerator
Allow the chicken to cool completely before storing.
Place it in an airtight container and refrigerate for up to 4 days.
For the best texture, store the glaze separately whenever possible.
Freezer
Freeze the fried chicken (without glaze) in freezer-safe bags or airtight containers for up to 3 months.
Thaw overnight in the refrigerator before reheating.
Storing the Glaze
The honey chipotle glaze can be refrigerated in a sealed jar for 5 days.
Warm gently before using.
Reheating Instructions
Air Fryer (Recommended)
- Preheat to 375°F (190°C).
- Heat for 4–6 minutes until crispy and hot.
This method best restores the crunchy coating.
Oven
- Bake at 375°F (190°C) for 10–12 minutes.
- Place the chicken on a wire rack for even heating.
Stovetop
Warm the chicken in a skillet over medium heat for several minutes.
Add the glaze during the final minute of cooking.
Microwave
Although convenient, microwaving softens the coating.
Heat in 30-second intervals until warmed through.
For the best texture, use the oven or air fryer instead.
Nutritional Information (Approximate)
| Nutrient | Per Serving |
|---|---|
| Calories | 520 kcal |
| Protein | 34 g |
| Carbohydrates | 36 g |
| Fat | 27 g |
| Saturated Fat | 8 g |
| Fiber | 2 g |
| Sugar | 18 g |
| Sodium | 760 mg |
| Cholesterol | 145 mg |
Note: Nutrition values are estimates and may vary depending on the ingredients and cooking method used.
Troubleshooting Guide
My Chicken Isn’t Crispy
Possible Causes
- Oil wasn’t hot enough.
- Chicken was overcrowded.
- Breading didn’t rest.
Solution
Maintain the correct oil temperature and fry in small batches.
The Breading Fell Off
Possible Causes
- Chicken was too wet.
- Breading wasn’t pressed firmly.
- No resting time before frying.
Solution
Pat the chicken dry, press the coating onto each piece, and let it rest for 10 minutes before cooking.
The Chicken Is Dry
Possible Causes
- Overcooking.
- Chicken pieces were too small.
Solution
Use an instant-read thermometer and remove the chicken as soon as it reaches 165°F (74°C).
The Glaze Is Too Thick
Solution
Whisk in a tablespoon of warm water or chicken broth until it reaches the desired consistency.
The Glaze Is Too Thin
Solution
Simmer for a few extra minutes until it naturally thickens.
The Chicken Is Too Spicy
Solution
Reduce the chipotle peppers or add a little more honey to balance the heat.
Frequently Asked Questions
1. Can I make Honey Chipotle Chicken ahead of time?
Yes. Prepare the chicken and glaze separately, then combine them just before serving for the crispiest results.
2. Can I use chicken breasts instead of thighs?
Absolutely. Chicken breasts are leaner and work well, but be careful not to overcook them.
3. Can I bake this recipe instead of frying?
Yes. Baking or air frying are excellent alternatives if you prefer a lighter version.
4. Is this recipe very spicy?
It has a gentle smoky heat. You can easily adjust the spice level by using more or fewer chipotle peppers.
5. Can I freeze the cooked chicken?
Yes. Freeze the fried chicken without the glaze for the best texture when reheating.
6. Which oil is best for frying?
Neutral oils such as canola, vegetable, or peanut oil are great choices because they have high smoke points.
7. How do I keep the chicken crispy after glazing?
Toss the chicken in the glaze immediately before serving and avoid covering it while it’s still hot.
8. What vegetables pair well with this recipe?
Roasted broccoli, green beans, corn, asparagus, Brussels sprouts, and mixed vegetables all complement the sweet and smoky flavors.
9. Can I use this glaze with other proteins?
Yes. It works wonderfully with shrimp, salmon, pork, tofu, and cauliflower.
10. How can I make the glaze sweeter?
Simply stir in a little more honey while the glaze is warm until you reach your preferred sweetness.
Final Thoughts
If you’re looking for a recipe that delivers restaurant-quality flavor with surprisingly simple ingredients, this Crispy Honey Chipotle Chicken Recipe deserves a place in your weekly dinner rotation. The combination of juicy chicken, an ultra-crispy coating, and a rich honey chipotle glaze creates a meal that’s both comforting and packed with bold flavor.
Whether you’re cooking for family, entertaining guests, or preparing meals for the week, this recipe is easy to customize and consistently delivers delicious results. From the first crunchy bite to the last drizzle of sweet and smoky sauce, it’s a dish that’s guaranteed to impress.
Don’t be afraid to make it your own by adjusting the spice level, trying different side dishes, or experimenting with the suggested variations. Cooking should be fun, and this recipe gives you plenty of room to get creative.
If you try this recipe, we’d love to hear how it turned out! Leave a comment below, give it a ⭐⭐⭐⭐⭐ rating, and share your favorite serving ideas. Your feedback helps other home cooks and supports our growing recipe community.
1 thought on “Crispy Honey Chipotle Chicken Recipe – Sweet, Smoky & Irresistibly Crunchy”